For most non-professionals, there are no high-tech products that are more difficult to assemble than home theaters. So, if you want to make the installation process easier, we can divide the entire assembly process into small parts that can be easily completed in each part. In this case, we will feel that the original installation of a home theater is also a A very fun thing.
In the process of setting up a home theater, after we have selected all the equipment and accessories of a system, we must consider how to install a home theater. When you are faced with a lot of cables, audio-visual equipment and a stack of difficult and difficult instructions, you will be confused: How should we start the installation? What should we do next? The following small series will break down the overall process and precautions for configuring and installing a home theater:

Starting from the room
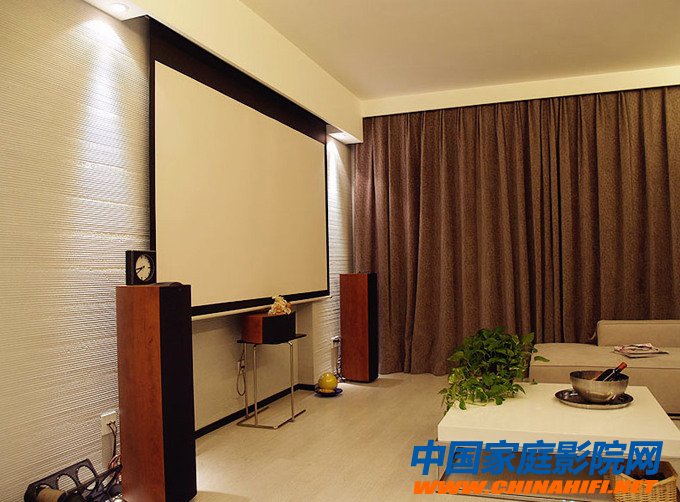
For most people, the home theater is placed in the living room, the living room is usually used to entertain guests, and sometimes there are some naughty children running around. We have to consider this situation before installation, and we must also consider the following issues when planning how to use the space in the room. Where do you sit? Which direction do you face? Are you using an LCD flat-panel TV or a projector? Or both? Where should your equipment be placed? Is it outside for easy control or in the cabinet? You Do you like a concealed system or do you want all the equipment to be placed? Do you like stand-alone, in-wall or modular audio? How many channels?
Ask yourself these questions in advance, and you can avoid having to install a complete system and find defects and regret it. When you have a general idea of ​​how a home theater will be assembled, you need to confirm it again: Have you equipped all the equipment with good wires? Have you purchased the right wires to connect each speaker? . Beginning the installation of a list of front-ends can minimize confusion during installation.
Simple and simple
So far, the simplest but top-of-the-line home entertainment system configuration is: a 42-inch or 50-inch plasma display on an A/V audio-visual cabinet designed for it, a three-piece AV amplifier, DVD player The hard disk digital video recorder is placed in the cabinet with a separate speaker on each side. This is a popular choice for small and medium sized rooms, but this permanent installation is not suitable for large rooms.
The professional A/V audio and video cabinet can make the display at a height suitable for viewing, and its open back panel makes it easy to connect the equipment, and the cable can be well hidden behind the audio cabinet, making people look very tidy.
Installation tips: output interface to input interface, digital output to digital input, right channel to right channel, left channel to left channel, red to red, black to black. After connecting the line, check if each connection is correct. Before you open the whole system, you need to check each part for the second time. In this way, you will have a 99% chance to let the equipment start for the first time. It will work normally.
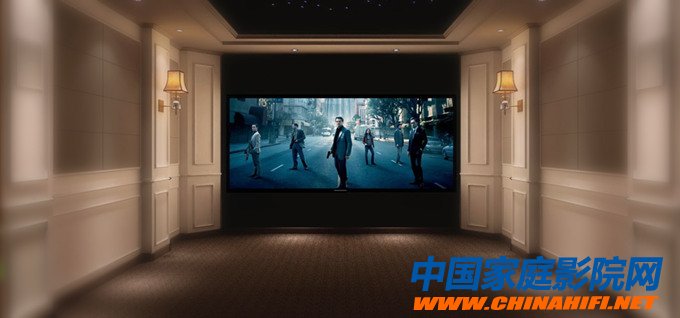
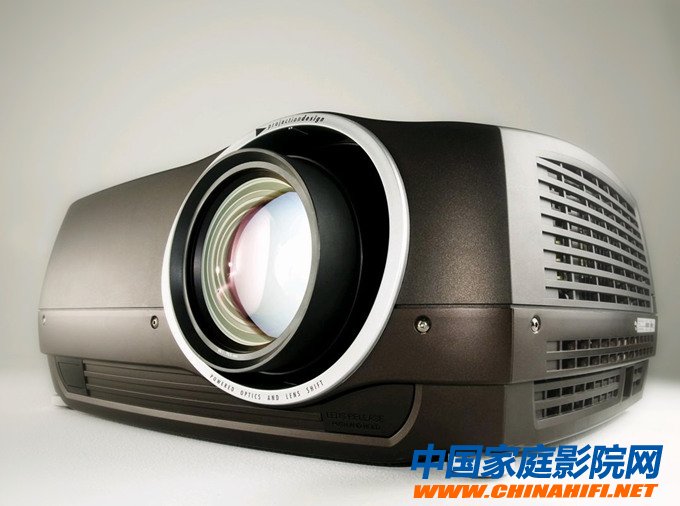
Many DIY enthusiasts want to design their home theater into a semi-built-in style, which saves space and achieves good results. In order to achieve this, a common compromise we use is a built-in flat panel display with a stand-alone speaker. Another option is to consider hanging the projector together with a stand-alone speaker.

The most common semi-integrated solution we usually use is a stand-alone front-mounted speaker, a stand-alone subwoofer and an in-wall surround speaker. Although it takes a little brains to route these surround speakers, these are not a problem for enthusiasts who master electronic technology and engineering. After deciding which form of home theater to use, we need to draw a layout of the entire system, then list all the things to do, and then check each item in the process of installation to see if it has been completed. This will not be very confusing when installed.
The emergence of HDMI cable makes the connection of the home theater system much simpler, and will be fully popular in the future. But for now, we still need to mix analog data lines and digital lines, and the number of wires used in the entire system is not small. Therefore, in order to avoid mixing these wires, we should mark them at the end of each data line when installing. For example, the speaker cable connected to the speaker, we can choose the appearance of all the white wire or use an oily pen to mark on it.
In addition, in order to make the system more convenient, we better have a cabinet with wheels, and then put all the equipment on this cabinet, so you can easily remove the equipment.
When placing the equipment on the cabinet, we should put the commonly used equipment in a suitable position. For example, the disc player should be placed at the position above the waist below the chest, because the disc is placed at the height of this position. We use it most conveniently and comfortably. And all the equipment that can be controlled by the remote control (such as AV amplifiers, etc.) are almost the same, not too particular. However, for the stability of the entire cabinet, the heavy equipment should generally be placed at the lowest level of the cabinet.
To ensure that the home theater system is installed correctly, we usually need to check the back interfaces of all the equipment again after installation to see if they are properly connected. However, many people insisted on sealing the back panel of the cabinet after they finished loading, because they thought that they would not need to check and move the equipment again in the future, which undoubtedly added a huge amount for our installation work and future maintenance work. The trouble, and a long pile of connecting lines are squeezed together, not only affects the ventilation and heat dissipation of the entire system, but also interferes with various signals, which also affects the quality of data transmission.
One of the most difficult situations to install a home theater system is to put these audio and video equipment in a very old, outdated cabinet. The space of these cabinets is usually very small, and the owner does not want to drill holes in the cabinet or remove the backboard to facilitate the connection of various equipment. In this case, we will face many difficulties that cannot be handled, so the most sensible choice is to give up.
Start post setting
Is the drive connected? Does each machine react to the remote? Then start the post setup.
Better AV amplifiers usually provide automatic adjustment and setting functions. Insert the microphone, place it in the listening position, and follow the on-screen instructions to make adjustments. For speakers with limited bass, we should set the volume to the minimum level in the setup menu.
In some automatic setup tests, the AV amplifier automatically detects the distance of the speakers and sets the volume level, and then may make some adjustments to the amplitude response. After the adjustment, we need to do is save the settings and exit the settings menu. In most cases, the auto setup feature sets all parameters, except for the subwoofer settings. Because we need to adjust the phase.
During the installation process, we try to place the subwoofer and the main speaker on the same horizontal line, so that the low frequency phase of each speaker can be adjusted to be close to or substantially the same, so that the total low frequency sense is increased. For AV amplifiers that do not have an auto setup function, we can only make manual adjustments. Measure the distance of each speaker and set the appropriate parameters. After saving the settings, the rest is to put some rock music to test whether the settings are correct.

China Home Theater Network recommends: Find a patient helper to help you complete the installation. Before packaging the device into the cabinet, we must test the entire system to make sure it works. This will minimize our chances of reworking in the future.
In addition, we also want to ensure that all devices have a good cooling environment, in addition, it is best to purchase a customizable universal remote control (such as MX-850), which allows you to easily remotely control all devices. What else is left? Sit back and enjoy the joy that the film brings to you.
SMT Cable ,original and new, in stock, top quality.
Smt Machine Spare Parts
Original Smt Feeder
Original Smt Cable
Smt Machine Cable
Smt Spare Parts Fuji Cable
Smt Cable
Smt Belt
Smt Siemens Belt
Smt Juki Belt
Smt Conveyor Belt
Smt Camera
Smt Laser
Camera For Smt
Smt Siemens Camera
Smt Parts Plastic Rail
Smt Plastic Rail
Smt Juki Plastic Rail
Juki Plastic Rail
SMT Nozzle For Yamaha
Yamaha Nozzle
Nozzles For Yamaha Machine
Smt Yamaha Nozzle
Smt Siemens Nozzle
Smt Nozzle For Siemens
Siemens Nozzle
Smt Nozzle For Samsung
Samsung Nozzle
Smt Samsung Nozzle
Panasonic Nozzle
Smt Panasonic Nozzle
Smt Nozzle For Panasonics
Nozzles For Panasonic Machine
Smt Juki Nozzle
Nozzles For Juki Machine
Juki Nozzle
High Pressure Juki Nozzle
I-Pulse Nozzle
Nozzles For I-Pulsemachine
Smt I-Pulse Nozzle
High Pressure Fuji Nozzle
Nozzles For Fuji Machine
Fuji Nozzle
Smt Fuji Nozzle
Smt Nozzle
Smt Parts Nozzle
Smt Nozzle For Machine
Smt Spare Parts Nozzle
Yamaha Smt Feeder
Yamaha Feeder
Smt Machineyamahafeeder
Smt Feeder For Yamaha
Smt Feeder For Siemens
Smt Machine Siemens Feeder
Siemens Smt Feeder
SIEMENS Feeder
Samsung Smt Feeder
Smt Machine Samsung Feeder
SAMSUNG Feeder
Smt Feeder For Samsung
Panasonic Smt Feeder
Panasonic Feeder
Smt Machine Panasonic Feeder
SMT Feeder For Panasonic
Smt Feeder For Juki
JUKI Feeder
Juki Smt Feeder
Smt Machine Juki Feeder
I-Pulse Feeder
Smt I-Pulse Feeder
Smt Parts I-Pulse Feeder
I-Pulse Type Feeder
Pneumatic Feeder
Fuji Feeder
Smt Fuji Feeder
Fuji Smt Tape Feeder
Smt Machine Feeder
Smt Tape Feeder
Smt Feeder
Feeder For Smt Machine
Siemens Control Valves
Smt Siemens Valve
Siemens Vacuum Valve
Siemens Valves
Smt Samsung Valve
Samsung Vacuum Valve
Samsung Control Valves
SAMSUNG Valve
Juki Vacuum Valve
Juki Ejector
Juki Vacuum Ejector
Juki Valve
Ejector For Vacuum
Smt Vacuum Ejector
Smt Vacuum Valve
Cylinder For Samsung
Smt Samsung Cylinder
Samsung Air Cylinder
SAMSUNG Cylinder
Panasonic Pir Sensor
Panasonic Sunx Sensor
Panasonic Original Sensor
Panasonic Sensor
Juki Sensor
Juki Laser Sensor
Juki Smt Sensor
Laser Sensor
Juki Cylinder
Juki Square Cylinder
Juki Air Cylinder
Cylinder Square
SMT Cable
Smt Machine Cable,Smt Cable,Smt Spare Parts Fuji Cable,Original Smt Cable
Shenzhen Srisung Technology Co.,Limited , https://www.sr-smt.com